2-Pin Screw Terminal Block
= Compact Wire Connector for PCB and Prototyping Projects =
The 2pin screw terminal block is a reliable PCBmounted connector for secure, temporary wire connections. It provides a solid electrical junction for sensor wiring, motor controllers, and power distribution without soldering .
Reliable Screw Connection - Tension sleeve ensures maximum contact force, minimizing temperature rise .
SpaceSaving Compact Design Enables high-density connections on circuit boards .
Rated for 12-28 AWG wire sizes depending on pitch variant .
For permanent installations, strip 7mm of wire insulation before insertion .
Do not exceed the current rating to prevent overheating.
= Technical Specifications (Vary by Model) =
| Parameter | Value |
|---|
| Pin Pitch | 2.54mm, 3.5mm, 3.81mm, or 5.08mm |
| Current Rating | 6A to 20A |
| Voltage Rating | 250V to 320V |
| Mounting Type | PCB Through-Hole |
| Housing Material | PA Plastic (UL94V-0) |
| Contact Material | Tin-Plated Brass |
= Key Features =
Easy Wire Termination - Insulated stripped wire is secured by tightening the screw .
Versatile Use - Available in multiple pitches (2.54mm, 3.5mm, 5.08mm) to suit standard breadboards and PCBs .
Durable Construction Made with heatresistant PA plastic and corrosionresistant tinplated brass contacts .
ColorCoded Housing Green housing allows for quick circuit identification .
== Applications ==
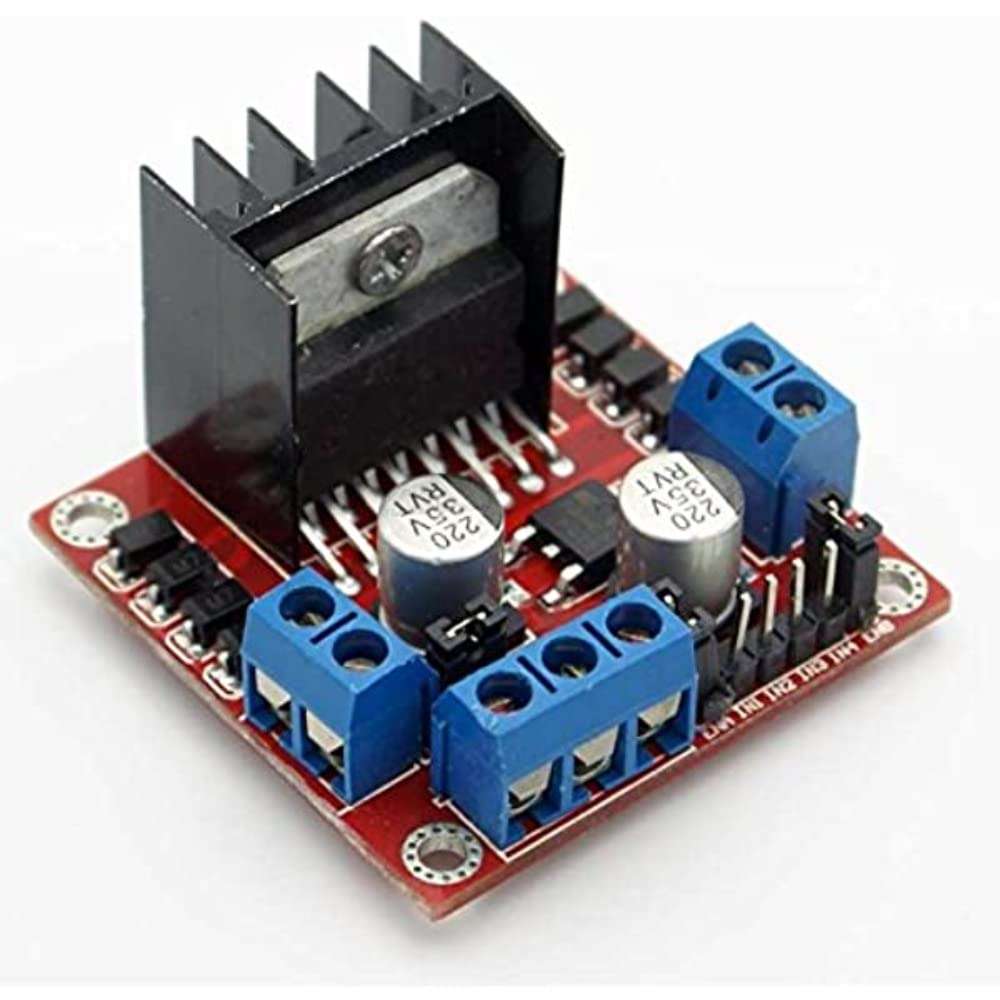
- Sensor and actuator wiring on Arduino/ESP32 .
- Power supply and motor driver connections .
- Prototyping circuits requiring detachable wires .
- Industrial control and telecom equipment .
Reliable & Secure The screw clamp offers a vibrationresistant connection .
Versatile Selection Available in standard pitches, including 2.54mm (0.1") for direct breadboard use and 5.08mm for highcurrent applications .
√ Compatible with all microcontroller boards.
√ Simple "strip, insert, and tighten" installation .
= Troubleshooting =
Intermittent connection:
- Tighten the screw to ensure the stripped wire is firmly clamped.
- Check for loose solder joints on the PCB.
- Ensure wire gauge is within the allowed AWG range .
No conductivity:
- Verify the correct wire strip length (~7mm) .
- Ensure the screw is not fully tightened onto insulation.