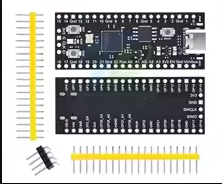
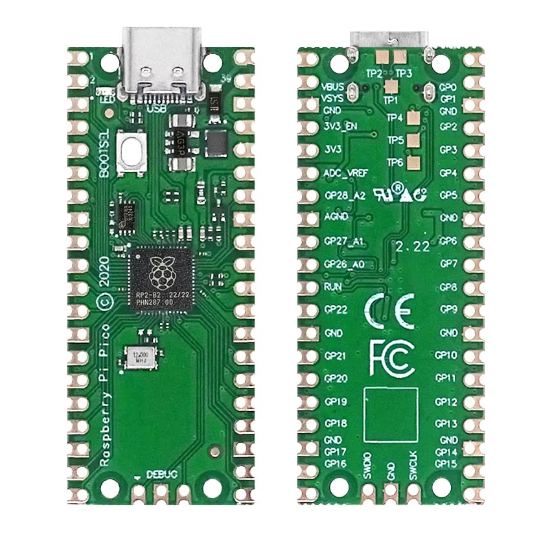
Pico2 RP2350 Development Board with USB-C and 16MB Flash
= HighPerformance DualArchitecture RP2350 Development Board =
This Pico2compatible board is powered by the RP2350A microcontroller, featuring a dualcore ARM CortexM33 and dualcore Hazard3 RISCV processor, with a flexible clock running up to 150MHz . It comes with 16MB of onboard Flash memory and a modern USBC port, delivering significantly enhanced performance over the original Pico .
RP2350 DualCore Architecture Selectable ARM CortexM33 and RISCV Hazard3 cores at 150MHz
16MB Flash & 520KB SRAM - Ample memory for complex firmware and MicroPython applications
Operating voltage is 1.8V to 5.5V - compatible with various power sources
Press and hold the BOOTSEL button while connecting USBC for dragand-drop UF2 programming
GPIO pins are 3.3V logic level - use level shifters for 5V devices
= Technical Specifications =
| Parameter | Value |
|---|
| Processor | RP2350A Dual-Core |
| Core Options | ARM CortexM33 or RISCV Hazard3 |
| Clock Speed | Up to 150MHz |
| Flash Memory | 16MB QSPI |
| SRAM | 520KB |
| PIO State Machines | 12 (3 blocks) |
| PWM Channels | 24 |
| ADC Channels | 4 x 12-bit |
| USB | USB-C 1.1 Host/Device |
| Interfaces | 2x UART, 2x SPI, 2x I2C |
= Key Features =
RP2350 High Performance - 150MHz processing with optional secure boot
USBC Connector Reversible and easier to plug in
16MB Onboard Flash - Quad SPI Flash for extensive storage
PIO & Peripherals - 12 PIO state machines for custom interfaces
Low Power Modes Sleep and dormant modes for batterypowered projects
== Applications ==
- Advanced robotics and motor control
- IoT and portable electronics with USB-C power
- Audio processing and machine learning
- MicroPython and CircuitPython development
- Custom peripheral development with PIO
Significant Performance Bump - Faster M33 cores vs original Pico's M0+
Rich Peripheral Set 12 PIO, 24 PWM, and HSTX for highspeed data
√ Software-compatible with Raspberry Pi Pico 2
√ Draganddrop UF2 programming via USB mass storage
√ 16MB Flash for data logging and complex applications
= Connection Guide =
- USBC: Power and programming (datacapable cable required)
- BOOTSEL Button: Hold while connecting USB for bootloader mode
- 26 GPIO pins with 4 ADC channels, 2 UART, 2 SPI, 2 I2C
- SWD interface for debugging with Raspberry Pi Debug Probe
Use BOOTSEL + reset for UF2 draganddrop programming
For 5V systems, power via USB-C or VS pin
Do not apply 5V to GPIO pins
Avoid using damaged or chargeonly USBC cables
= Troubleshooting =
Bootloader not mounting:
- Press and hold BOOTSEL button while connecting USB-C
- Use a datacapable USBC cable
- Avoid using a USB hub
Firmware upload issues:
- Ensure board is in bootloader mode (BOOTSEL + USB)
- Copy UF2 file to mounted drive
- Wait for auto-reset after upload